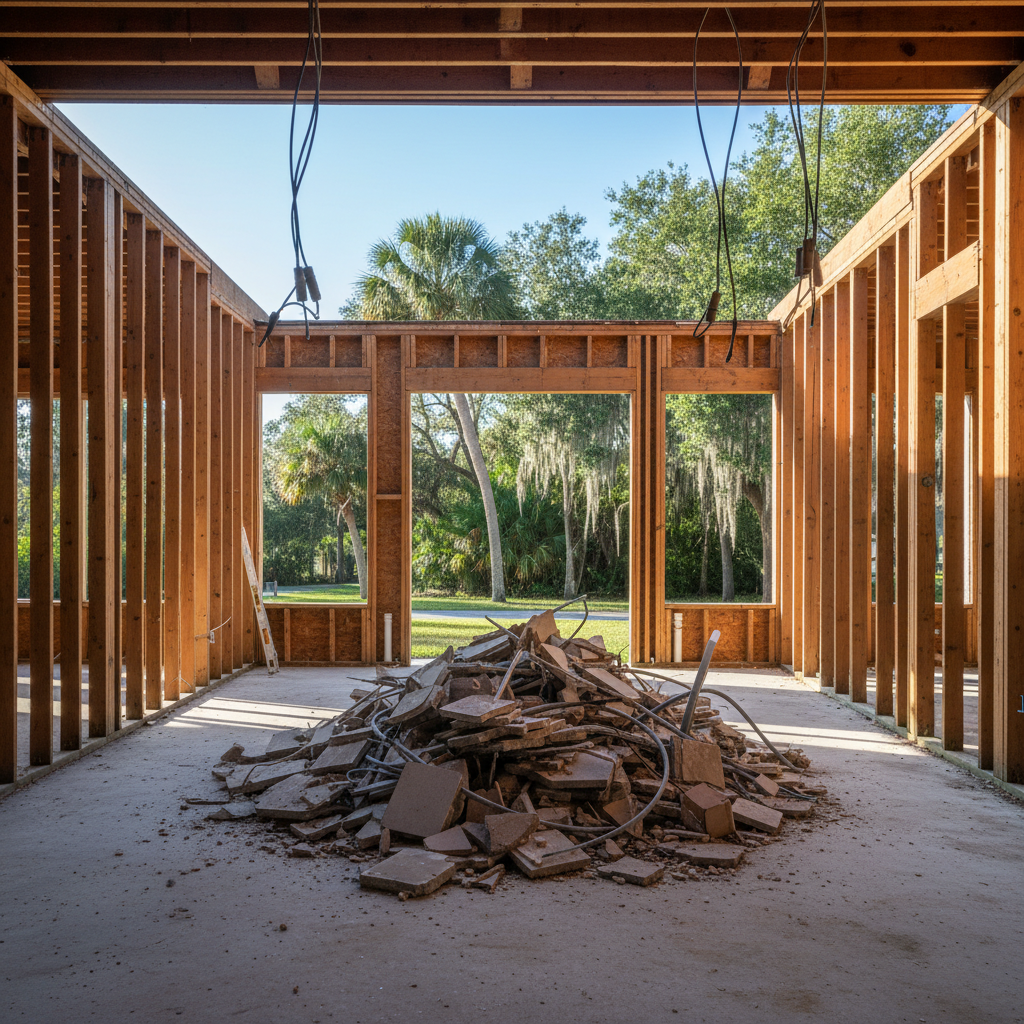
So, you're thinking about knocking down some walls or gutting a bathroom in your Pensacola home, huh? That's pretty exciting! Interior demolition might sound simple enough – just smash stuff, right? Well, not exactly. There's actually a lot more to it if you want the project to go smoothly, stay on budget, and keep those headaches away. As someone who's watched countless projects unfold right here in the Panhandle, I can tell you that a little planning really does go a long way.
Setting Your Project Timeline
Let's chat about timelines. This isn't a "one-size-fits-all" kind of answer, because every project is different. Are you just taking out a non-load-bearing wall to open up a living space, or are you gutting an entire kitchen and two bathrooms? Obviously, that second one will take longer. For a smaller job, like pulling out a single wall or doing a small bathroom demo, you might be looking at a day or two of actual demolition work. But for bigger projects, say a full interior gut of a 1,500 sq ft home, that could easily stretch to a week or even more, especially if there's a ton of debris to manage and haul away.
You also need to factor in lead times. Good contractors, like us at Midway Demolition, often have their schedules filled up a bit. Don't expect to call on Monday and have us start on Tuesday, you know? Plan ahead, especially during those busy renovation seasons. And remember, once the demo is finished, your next contractor (the builder, plumber, electrician) needs to be ready to jump in. Coordination is absolutely key here. You really don't want a perfectly demoed space just sitting empty for weeks because the next crew isn't available.
What to Expect During the Process
Alright, so what's it actually like when the crew shows up? First off, it's going to be loud. Really loud. We are breaking things, after all. Expect dust, too. Even with our best efforts to contain it, some dust is just inevitable. We'll put up plastic sheeting, seal off HVAC vents, and use air scrubbers where they're needed, but you'll still want to cover anything you don't want coated in a fine layer of drywall dust. If you're living in the house during the demo, get ready for some disruption. It's often best to plan a little getaway if you can, especially for those bigger jobs.
Safety is super important. We're not just swinging sledgehammers willy-nilly. We're carefully figuring out what needs to come down, identifying electrical lines, plumbing, and structural elements. Sometimes we'll hit something unexpected – an old pipe that wasn't on the plans, or a hidden layer of plaster under the drywall. That's just part of the process, and a good crew knows how to handle those surprises safely and efficiently. Debris removal is a huge part of interior demo, by the way. We'll have dumpsters on site, and our crew will constantly clear out the demolished materials to keep the workspace safe and organized.
How to Prepare Your Home
Before any demolition begins, you've got some homework to do. This preparation phase is critical for protecting your belongings and making our job easier. Here's a quick checklist:
- Clear the Area: Remove absolutely everything from the rooms slated for demolition. Furniture, artwork, curtains, rugs – it all needs to go. If there are built-ins you want to save, talk to your contractor beforehand.
- Protect Adjacent Areas: Cover floors in nearby rooms with heavy-duty drop cloths or cardboard. Seal off doorways to non-demo areas with plastic sheeting and painter's tape. Think about your HVAC system – turning it off and sealing vents in the demo zone will help prevent dust from circulating throughout your home.
- Turn Off Utilities: This is a big one. For kitchen or bathroom demos, you'll need to turn off the water supply to those areas. For any wall demo, especially if it's near outlets or switches, the power to that circuit needs to be off. We'll double-check, but it's always good for you to know where your main shut-offs are.
- Pet and Kid Safety: This is not a safe environment for pets or small children. Arrange for them to be elsewhere during the demolition phase.
- Valuables: Remove any irreplaceable items, important documents, or small valuables from the house entirely, or secure them in a locked room far from the work area.
Questions to Ask Before Signing a Contract
You've done your research, you've got a few quotes. Now, before you sign on the dotted line with any contractor, ask these questions. It'll save you a lot of grief down the road.
- What's included in the quote? Does it cover all labor, debris removal, dumpster fees, and any necessary permits? Make sure there are no hidden costs.
- How do you handle unforeseen issues? What if you find asbestos, mold, or a structural surprise? What's the process for communicating that, and how will it affect the timeline and cost? This is especially important in older Pensacola homes where you might find anything from knob and tube wiring to old lath and plaster walls.
- What's your dust containment strategy? Ask specifically what measures they take to minimize dust spread.
- What's the estimated timeline for just the demolition phase? Get a clear understanding of how many days or weeks they expect to be on site.
- Who is responsible for permits? In Pensacola, some interior demo work might require permits, especially if it involves structural changes or changes to plumbing/electrical. Clarify who pulls these.
- Do you carry proper insurance? This is non-negotiable. They need general liability and workers' compensation insurance. Ask for proof and verify it.
- What's your communication plan? Who is my main point of contact? How often will I get updates?
Asking these questions upfront will give you a clear picture of what to expect and ensure you're working with a professional who prioritizes safety and clear communication. A good interior demolition job really sets the stage for a successful renovation, so take the time to plan it right.